
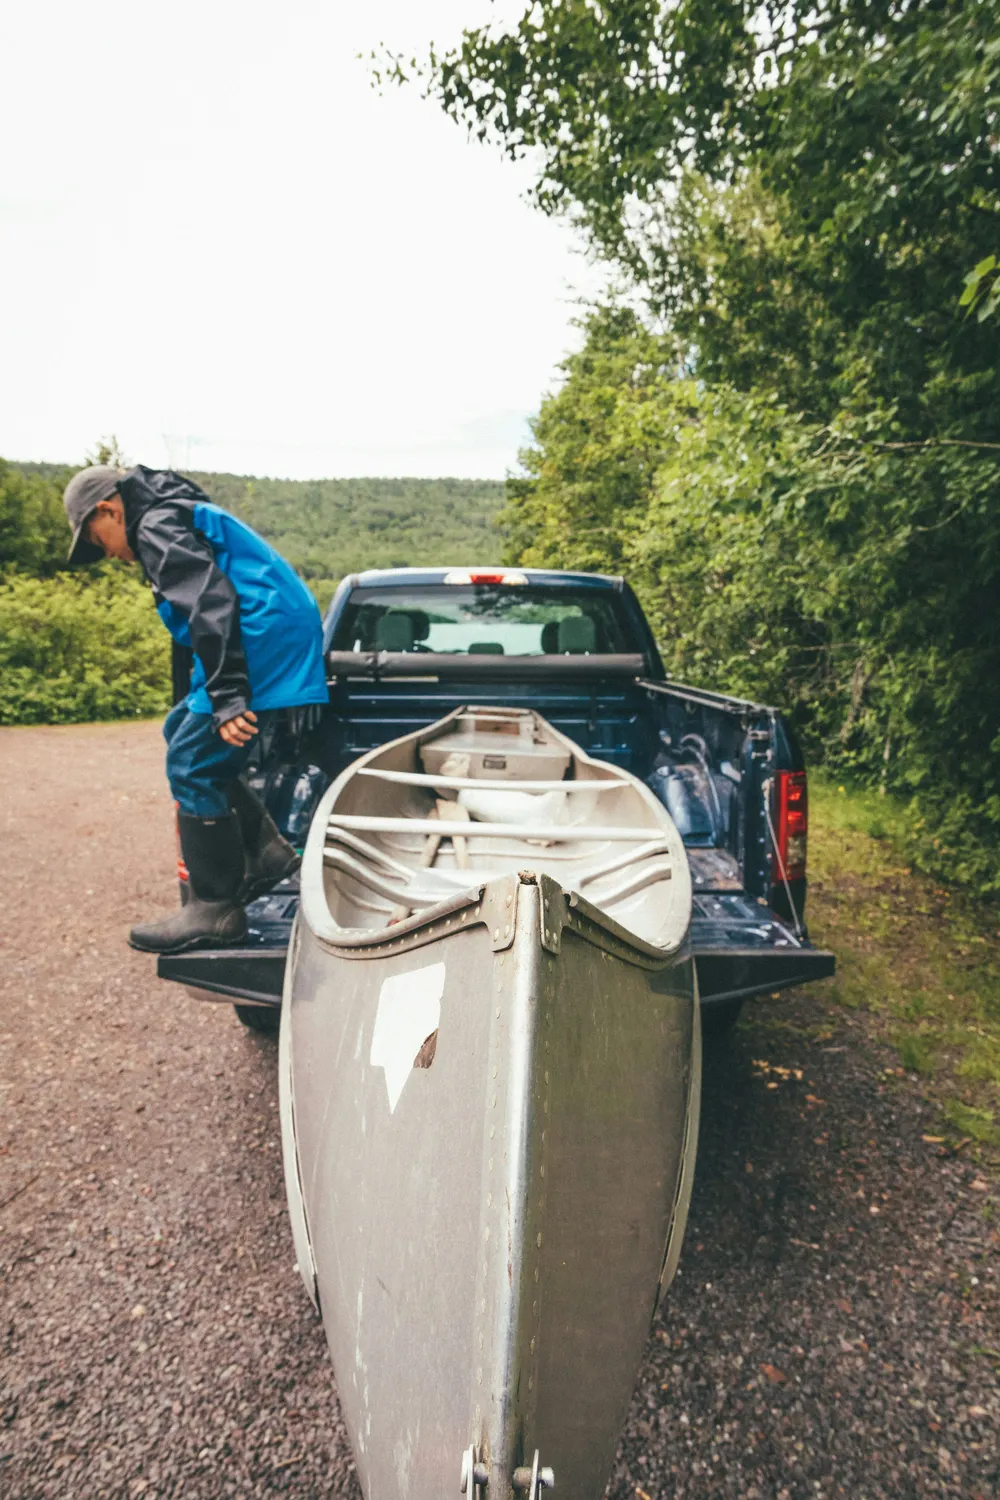
A portage is the trail between two bodies of water where you carry your canoe and gear on foot. In Canadian canoe country, portages are what separate the busy access lake from the quiet ones beyond. They can be a 50-metre stroll around a beaver dam or a multi-kilometre carry over a ridge. Learning to portage well is the single biggest step from day paddler to canoe tripper, and it is far more about technique and packing than about strength.
Reading portage signs and maps
In most Ontario parks, portage landings are marked by yellow signs with a black symbol of a person carrying a canoe. Park and outfitter maps show each portage as a line with its length. Algonquin maps list lengths in metres, but you will still hear experienced trippers talk in "rods". One rod is about five metres, so a 200-rod portage is roughly a kilometre.
Maps sometimes show elevation changes or describe a portage as rough, steep or wet. Use these notes to plan your day: two flat 400-metre portages are easier than one steep 600-metre carry with a muddy landing.
Spotting the landing
Portage signs can be small and set back from shore. Approach the area marked on the map slowly and look for the sign, a worn path, or a gap in the trees. Landings are often in the corner of a bay or near the outflow of a creek.
Single carry vs. double carry
How many trips across each portage you make depends on how you pack. The goal for most trippers is to reduce the number of round trips without overloading anyone.
- Single carry: everything crosses in one trip. One person carries the canoe plus a light pack; the other carries the heavy pack and a smaller bag. Efficient, but requires careful, compact packing.
- Double carry: you walk the portage three times — over with a load, back empty, over again. Slower, but easier on bodies and common with families or longer trips.
Whichever you choose, aim for every item to be inside a pack. Loose paddles, water bottles, fishing rods and camera bags are what turn a single carry into a double.
Lash paddles inside the canoe with straps or bungee cords so they stay put while you carry. Keep a water bottle clipped to a pack. Do a final "loose item sweep" of the landing before you leave each end of the portage.
Packing for the portage
Good packing makes everything easier. Most canoe trippers use a few large, soft-sided portage packs or a combination of packs and a food barrel with a harness.
- Heavy items close to your back: food, fuel and water near the spine and between the shoulder blades.
- Light, bulky items at the bottom: sleeping bags and clothing.
- Waterproof everything: line packs with heavy-duty bags or use dry bags inside.
- Balance the load: canoe carrier takes the lighter pack; the other person takes the heaviest.
A food barrel with a good harness carries surprisingly well and keeps food sealed. Our guide to packing a canoe barrel explains how to fill one efficiently.
Lifting the canoe safely
The solo overhead lift looks intimidating, but it is a technique, not a feat of strength. It also helps to have a canoe with a well-padded yoke. If you are new, start with the tandem lift and practise solo lifts on grass at home or at the campground before your trip.
The tandem lift (beginner-friendly)
- Stand on either side of the canoe near the centre, facing each other.
- Lift the canoe together and roll it up so it rests upside down on your thighs.
- Together, raise the canoe overhead. One person steps under the yoke and settles it on their shoulders while the partner steadies the bow.
- The partner lets go once the carrier is balanced.
The solo lift
- Stand at the centre of the canoe beside the yoke, with the canoe on its side on the ground, bottom against your knees.
- Bend your knees and lift the canoe onto your thighs, gripping the far gunwale with one hand and the near one with the other.
- In one smooth motion, use your legs and a hip pop to roll the canoe up and over your head, ducking under as it rotates.
- Settle the yoke pads on your shoulders and reach forward to hold the gunwales.
Always lift with your legs, keep your back straight, and never twist under load. If a lift feels wrong, set the canoe down and try again.
You are not carrying a canoe — you are balancing it. Once the yoke sits right, the boat almost floats along with you.
Walking the trail
- Find your balance point: tilt the bow up slightly so you can see the trail ahead.
- Short steps on rough ground: roots and rocks are slippery when wet.
- Use canoe rests: some portages have wooden rests where you can lean the bow and take a break without setting the canoe down.
- Watch out for hikers and other paddlers: call out on blind corners; the person going downhill or carrying a canoe usually gets right of way.
- Mind the landing: put the canoe down in the water or on shore carefully. Do not drag it over rocks.
Portage etiquette
Popular portages can get busy on summer weekends. Clear the landing quickly so others can land, stack your gear off to one side, and do not leave packs blocking the trail. Stay on the established path to prevent erosion, and pack out any trash you see. Bug season can make portages memorable for the wrong reasons; our bug season survival guide helps.
Key takeaways
- Plan days around portage length and difficulty, not just total distance.
- Pack everything inside a pack or lashed into the canoe.
- Learn the tandem lift first; practise solo lifts before your trip.
- Lift with your legs, never twist under load, and rest whenever you need to.
Portaging FAQ
How heavy is a typical tripping canoe?
It varies widely by material and length. Older aluminium and fibreglass tandem canoes can be heavy; modern lightweight composite tripping canoes are much lighter. If you rent, ask the outfitter about weight and yoke padding before choosing.
Can I portage with kids?
Yes. Children can carry a small daypack with their own clothes and snacks. Plan shorter portages and allow extra time. See paddling with kids for more ideas.